How To Build a Terrarium
How To Build a Terrarium
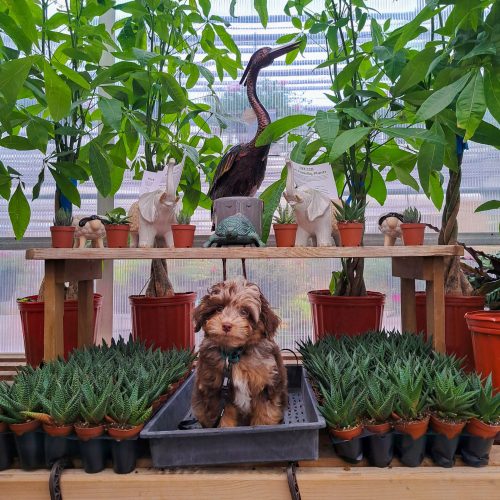
Creating a terrarium is like making your own little mini rainforest at home! It’s the perfect way to add lush greenery to your space with minimal effort. Whether you’re looking for a fun DIY project or want to create an easy-care plant display, a terrarium is a great way to go. Depending on the type of container and plant varieties you choose it should take you 30 to 60 minutes to build. Let’s walk through everything you need to know to build your very own indoor jungle!
What is a Terrarium?
A terrarium can be open or closed, but essentially it is a structure that allows for increased humidity compared to the environment outside the structure. In a closed terrarium, the water inside the glass container forms a little cycle. When you water the plants, some of the water turns into vapour and rises. It then cools down on the glass and turns back into droplets, which “rain” down to the plants again. This keeps the plants hydrated without needing much care, since the water stays inside the container in a continuous loop.
Watch Our Terrarium Video
Bridget Heeman walks you through how create your own little indoor jungle at home!
Watch Now on YouTube

Step 1: Pick Your Container
Start by choosing a clear or glass container (it can have a lid or no lid). It’s important that your container is clear so you can see all the lovely plants in the ecosystem you’re about to create!
✨ Heeman’s Helpful Tip: Look for something with no drainage holes and if closed, a lid that can sit on top loosely (we don’t want an air-tight fit) so your plants can still have some air flow. A glass jar, vase, or even an old fish tank works great. We have lots of vessels to choose from in-store as well.

Step 2: Drainage Layer
Start at the bottom, and build the base of your terrarium. Add the first layer of small stones, pebbles, or leca balls—about 1 to 2 inches deep, depending on the size of your container.
This drainage layer should be able to resist compaction, support the layers above it, and give excess water a space to sit that is away from the roots of your plants. Without it, the roots could sit in water, which can lead to mold or rot (and just like people, most plants don’t like having wet feet).

Step 3: Barrier Layer
Your ‘space for drainage’ you just made in step 2 won’t work if it’s clogged by everything that comes next, so we recommend you add a barrier to prevent the upper layers from settling down into your drainage layer. Use a fine mesh (avoid metals as they tend to rust) if you’d like this layer to be less visible, sand or a thick layer of sphagnum moss.

Step 4: Charcoal
Activated or horticultural charcoal absorbs odors and kills bacteria—kind of like your terrarium’s own little air purifier! Sprinkle a thin layer of activated charcoal over the barrier layer (less than ¼” thick, depending on your container size). This will help keep the terrarium fresher and contributes to the prevention of funky smells or mold from forming in your cozy little terrarium.
Step 5: Add Potting Soil
Now it’s time to add a layer of potting soil for your plants to grow in! You can judge how much potting mix you’ll need by the size of your plant’s root ball and the size of your container. You’ll want a layer that’s thicker than the root ball is tall to give it room for future growth.
Heeman’s Potting Mix is a great option for this layer as it will retain moisture without getting too soggy! We recommend any mix that is well draining, with additives like perlite that help with both drainage and keeping the soil ‘fluffy’ allowing oxygen to get at the plant roots.
If you have different types of plants with specific soil needs (like an orchid for example), you can create little sections of different types of soil in the same container.
✨ Heeman’s Helpful Tip: Give your terrarium a varied terrain with a hill or slanted soil to allow for more interest and to give more plants easy access to light.
Step 6: Plan and Place Plants
This is where you can get creative! Before you start planting, arrange your plants in the terrarium to see how they fit. You want to make sure that your smaller plants can reach the light and don’t have to fight you bigger ones. Each plant has different space and light requirements, so make sure they’re positioned where they’ll thrive.
Using your small trowel, spoons or chopsticks to dig and place your plants, you can design your terrarium layout in whatever way you like! Make sure you don’t overcrowd your plants—give them room to grow and breathe.
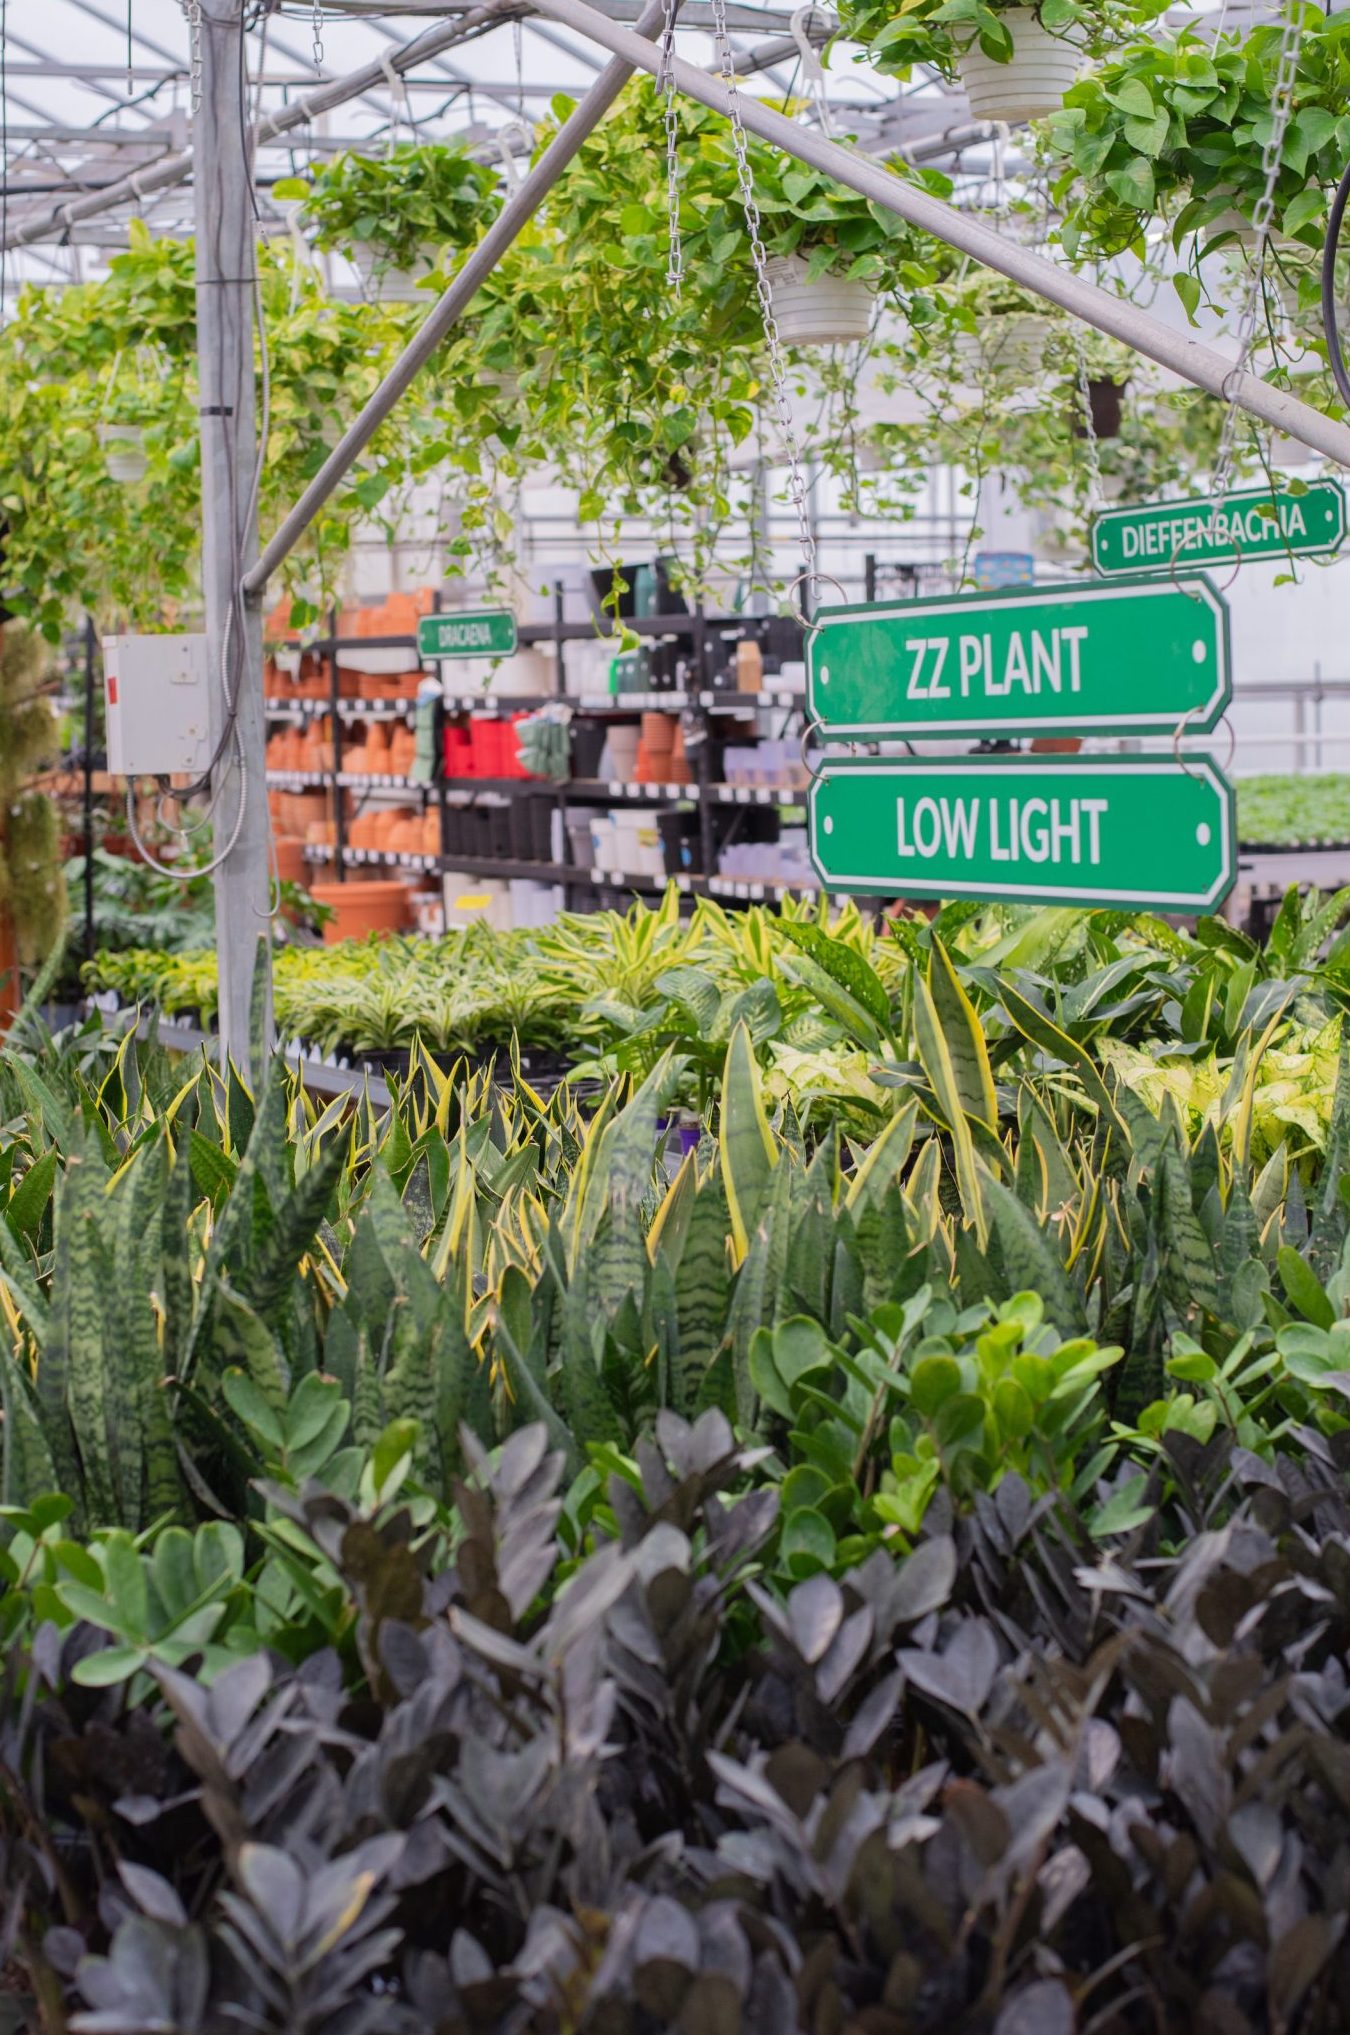
Top Terrarium Plants

- Ferns – compact Boston Fern, Maidenhair Fern, Lemon Button Fern
- Mosses – Ruby, Golden, Peacock Spikemoss
- Peperomias
- Pilea
- Fittonia (Nerve Plant) – try to opt for small leafed varieties as they have a more dense habit better suited for terrariums
- Miniature Phalenopsis Orchids
- Carnivorous Plants – Venus Flytrap, Pitcher Plants, Trumpet Pitcher
- Spiderwort (Tradescantia)
- African Violet
- Baby Tears
You can often find a good selection of these plants in cute 2” sizes or bigger here at Heeman’s!
Step 7: Add Some Decorative Touches
If you want to add a personal touch, now’s your chance! You can add small stones, pieces of bark, or even tiny figurines to make your terrarium unique. Decorative elements can make your terrarium look extra special, but don’t forget—the plants are the stars of the show!
Your tweezers or chopsticks can help you position these elements in tight corners.
✨ Heeman’s Helpful Tip: Use natural elements like moss, small rocks, or wood to keep the look cohesive and in line with your plants’ natural habitat. Ensure any items you add are water-resistant and won’t melt , or have colours fade or run in a moist environment.
Step 8: Water and Close Up Your Terrarium
Once your plants are in place, give them a good first drink (it will be lighter for following waterings). Depending on how delicate your setup is, consider using a rose spout watering can, multiple heavy mistings, or a seedling watering can—maybe wash down some of the soil that is stuck to the sides. The idea is to make sure your substrate is evenly saturated with water but no specific area is soaked, and there is no standing water on top or below the soil level (if there is water in your drainage layer, it should only be a little bit). Then, place the lid on your container.
The humidity inside the closed terrarium will help your plants thrive, and the lid keeps the moisture in to create a true water cycle. An open terrarium will need to be watered on a more regular basis.
Tips for Terrarium Maintenance
- Light: Based on the plants you selected, choose a location with enough light—most plants will do best with indirect bright light. Need help with what type of light you have? Check out our Ultimate Houseplant Lighting Guide!
- Watering: Check your terrarium regularly. The size of container, plants and substrates will all contribute to watering needs. If it’s a bit foggy inside and the soil feels moist, you probably don’t need to water. If it’s dry or you see condensation disappearing, give it a little misting. It’s all about balance! Some larger and well balanced closed terrariums might not need to be watered for months at a time!
- Pruning: Over time, your plants will grow, and some may need a little trimming. Prune back any leaves that get too long or have browned to keep things tidy.
- Air Circulation: If you notice too much moisture collecting on the glass, you might’ve overwatered, open the lid for a day or two to let it dry out. This will help prevent mold!
What to Avoid When Building Your Terrarium
- Don’t overfill: Leave space between your plants for air to circulate and for them to grow.
- Avoid direct sunlight: Too much direct sun can cause your plants to dry out and can even overheat your terrarium.
- Don’t overwater: It’s tempting to water often, but closed terrariums stay moist for a long time. Just mist gently and wait until the soil feels dry to touch.
- Avoid using regular garden soil: Regular garden soil can be too heavy and hold too much moisture. Stick to well-draining, potting soil for best results.
There you have it! You’ve now got all the steps you need to create a beautiful, thriving terrarium. This little ecosystem is perfect for brightening up any room, and best of all, it’s super low-maintenance. With just a little misting and the right light, your plants will grow happily in their cozy, humid home. Have fun with the process, and remember—there’s no “perfect” way to build a terrarium. It’s all about making something that feels just right for you!
If your plants aren’t looking their best, don’t hesitate to reach out! We’re happy to help before things get too tricky. You can send us a message on Facebook or Instagram, give the greenhouse a call, or even better, stop by with some photos and chat with one of our friendly Daymakers. We’re here to get your plants feeling better in no time! Happy terrarium building!